After 3 or so years of use, the micro USB port on our Motorola monitor stopped working. The symptom was that the cable had to be held in a specific position to charge the monitor. We often struggled to find the right angles, and even when we did, the cable frequently moved in the middle of the night and the monitor relentlessly beeped to complained about low battery. Waking parents of young children in the wee hours of the morning should be a punishable offense!
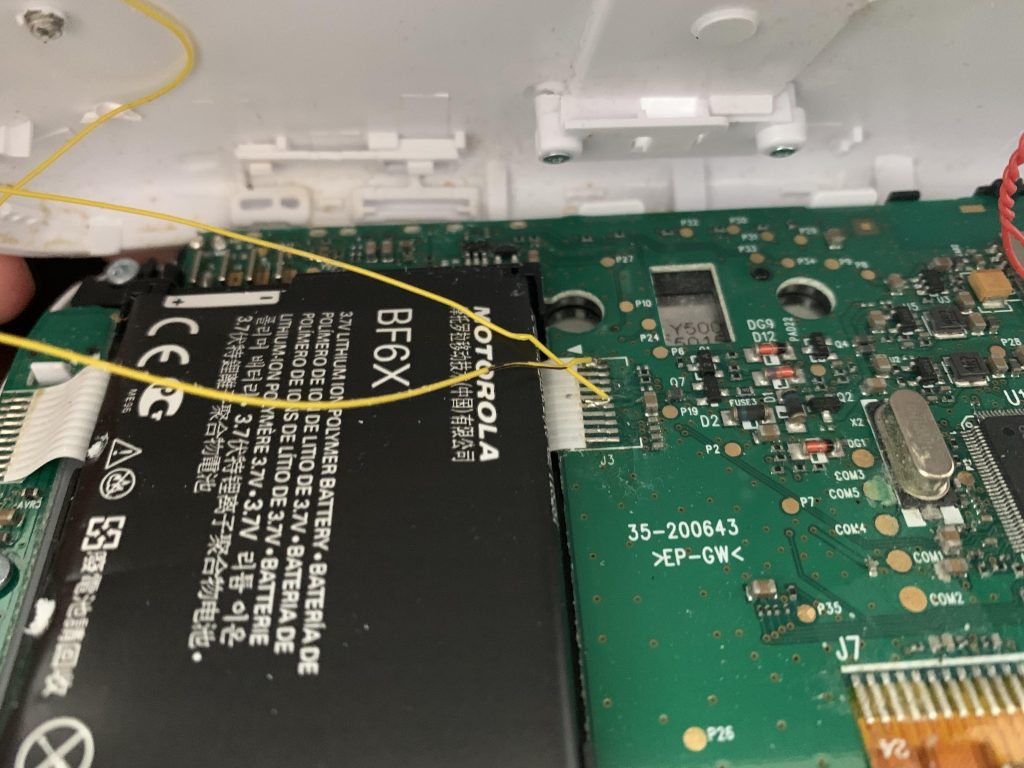
After a few weeks of struggle, I was confident that we needed a workaround or a new monitor. Before tossing the monitor on the recycling heap, I wanted to see if the USB female port could be replaced to extend the useful life of an otherwise fine item. I opened the monitor to immediately discard the idea of replacing the micro USB port because of how it was soldered on to the PCB, and because of how small the connectors were. I am terrible at soldering and I don’t have a good soldering iron. Moreover, I don’t have a microscope or the magnifying glass that is often necessary for soldering small parts. Thus, instantly and accurately I could tell that given my tools and skills, replacement of the USB port was not possible.
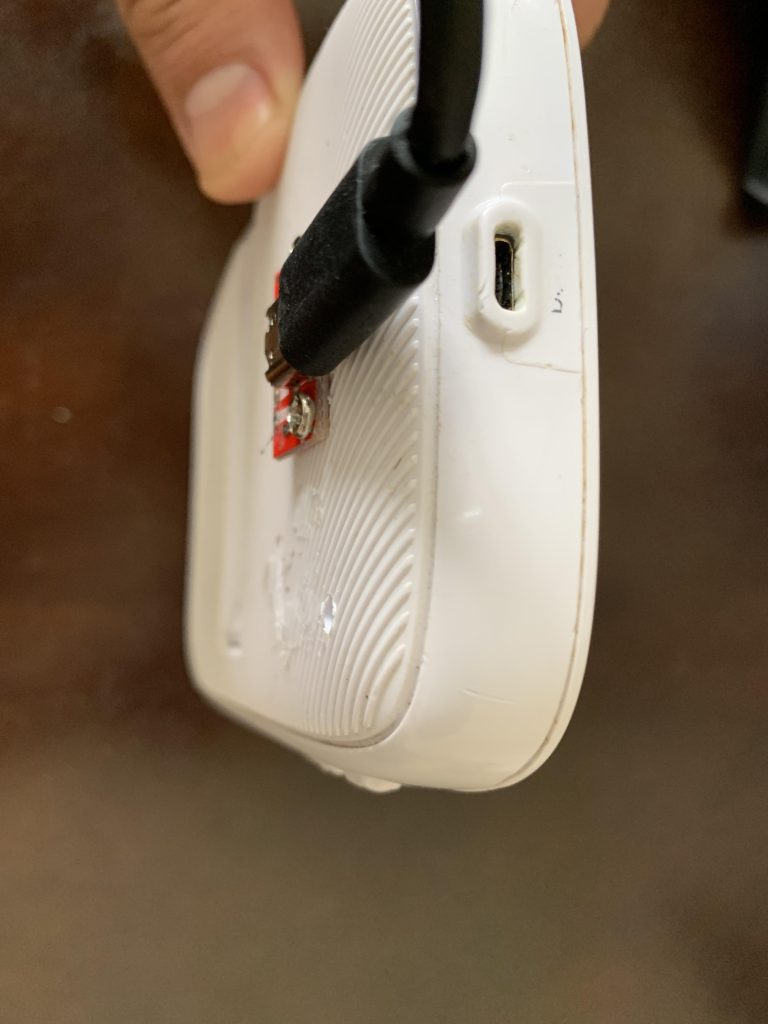
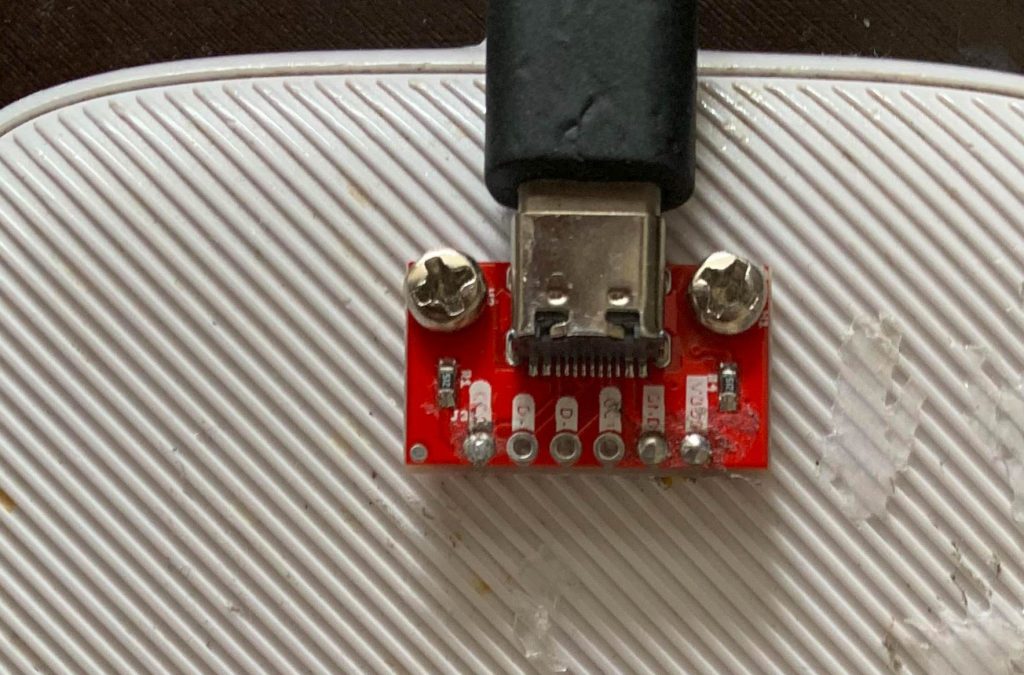
However, I wasn’t yet ready to give up. In the past, while browsing electronic parts, I had come across USB C breakout boards. I decided that the simplest solution would be to buy one of those and mount it externally. Even for someone with terrible soldering skills, it seemed imminently feasible. Indeed, I was able to quickly implement this workaround. USB C has the added benefit of not needing the tango of non-reversible micro USB ports. My wife and I are very happy with this, and it has made our life a little simpler.


Someone more skilled than me could implement a better fix, but this gets the job done.
Author’s note: These “quick and dirty” articles are written to help a forlorn and shipwrecked brother. It is hoped that any spelling or grammatical errors will be generously overlooked by the gracious reader.
Leave a Reply